

Step 1. Server
Which VPS to get and how to install Caddy on it.
Traffic to your domains arrives at your own server, which passes it to TDS.SO. The server runs the Caddy web server: it accepts requests and issues HTTPS certificates for your domains itself. Links, templates and statistics are not stored on the server — you manage everything in the dashboard.
Buying ready-made domains from a seller? You do not need a server — go straight to step 2.
Which server works
A cheap VPS from any provider works — for example Hetzner, DigitalOcean, Vultr, Aeza or Timeweb Cloud. You can compare plans on vps.today and poiskvps.ru. The server only passes requests along and needs few resources.
| Requirement | |
|---|---|
| Resources | 1 vCPU and 1 GB RAM or more, 10 GB disk or more |
| OS | preferably Ubuntu 22.04 or 24.04. Debian 10+ and CentOS, Rocky Linux, AlmaLinux 8+ also work |
| Network | a public IPv4 address. An IPv6-only server will not work |
| Access | SSH login as the root user |
| Ports | incoming 80 and 443 open. If the provider has its own firewall, open them in its panel |
Use a clean server with no sites. If nginx or Apache is already running on it, the installer stops them.
Get the install command
In the dashboard, open Tools → Servers, click Add Server and select My Server.
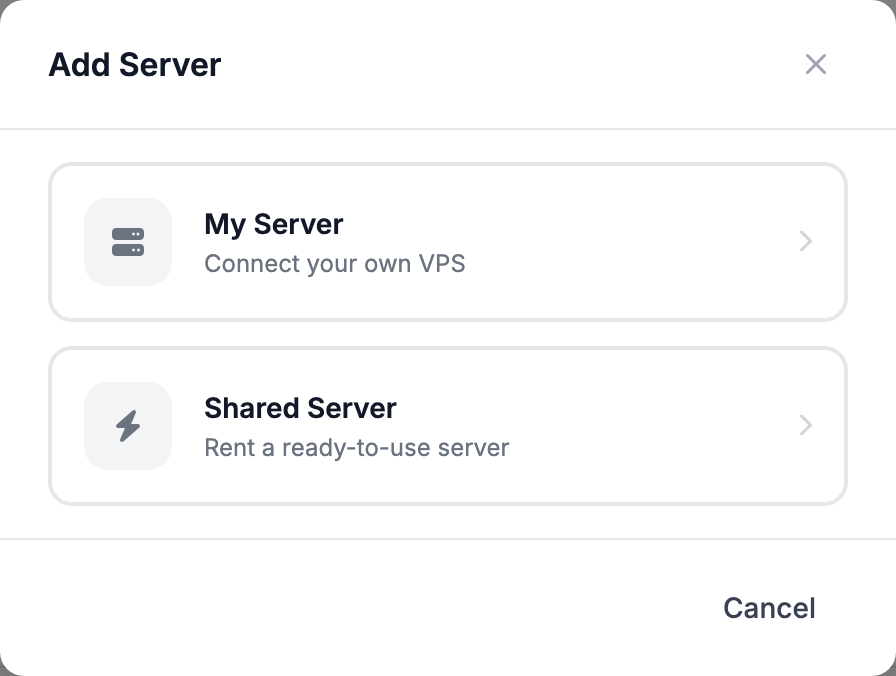
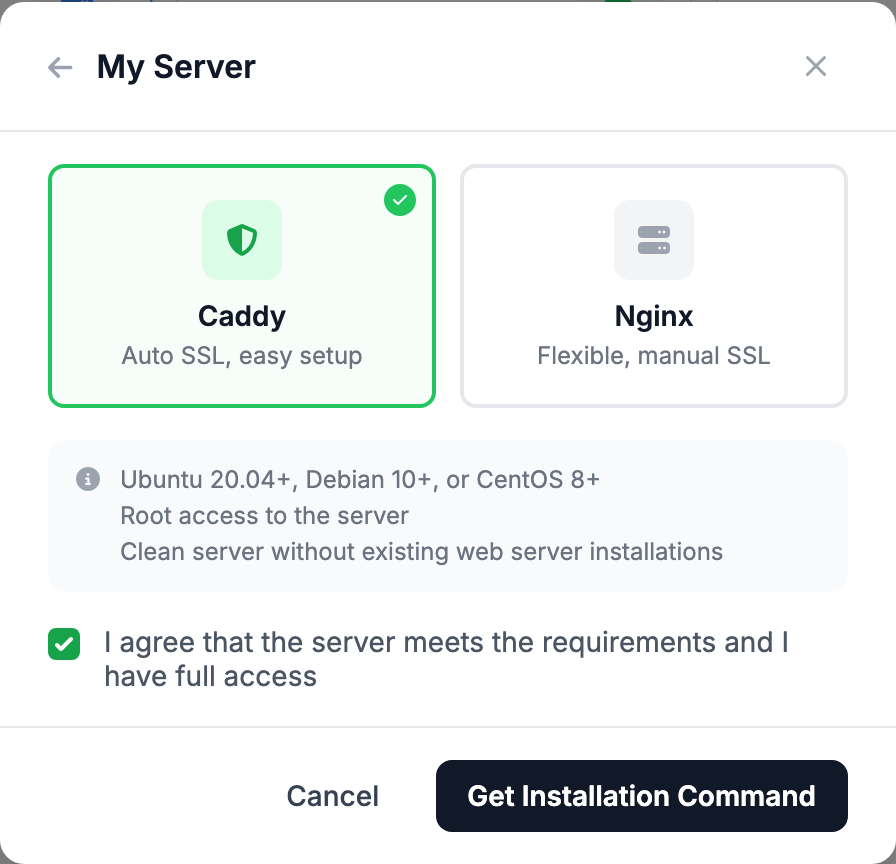
Keep Caddy, confirm that the server meets the requirements, and click Get Installation Command. Copy the command.
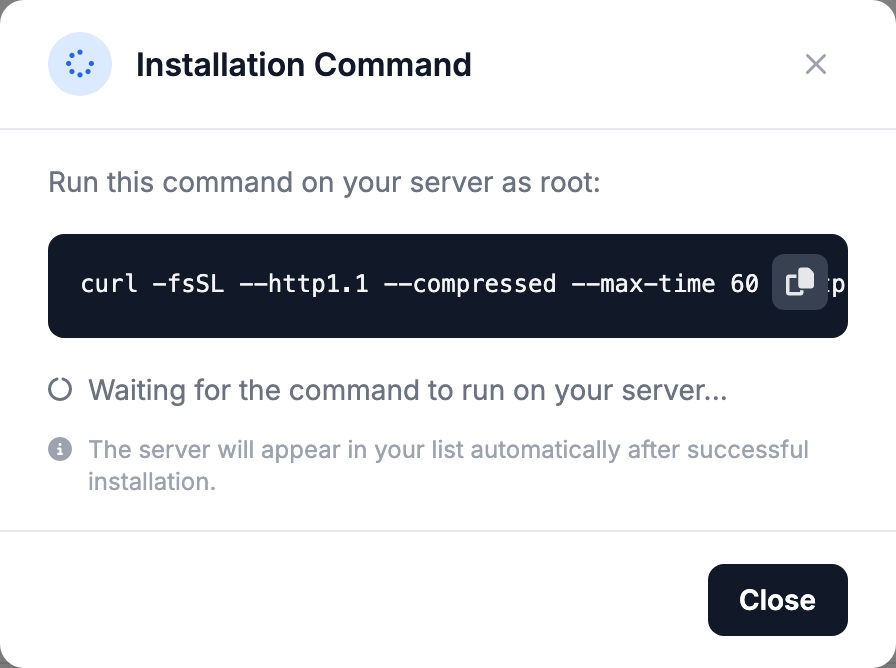
Do not close the window with the command until the installation finishes: once closed, you cannot view the command again, and a new one creates another server.
Run the installation
Connect to the server. The provider sends you the IP address and the root password after you buy the server.
If you prefer an app with a window, use Termius or PuTTY: enter the server's IP, the root user and the password.
Open PowerShell or Terminal from the Start menu and run:
ssh root@203.0.113.10Replace 203.0.113.10 with your server's IP. On the first connection, answer yes, then enter the password — the characters are not shown as you type. To paste a command into the window, right-click.
Paste the install command you copied and press Enter. If the installer asks Continue with installation? [y/N], it has listed what it will stop on the server — answer y.
While the installation runs, the window in the dashboard shows its progress.
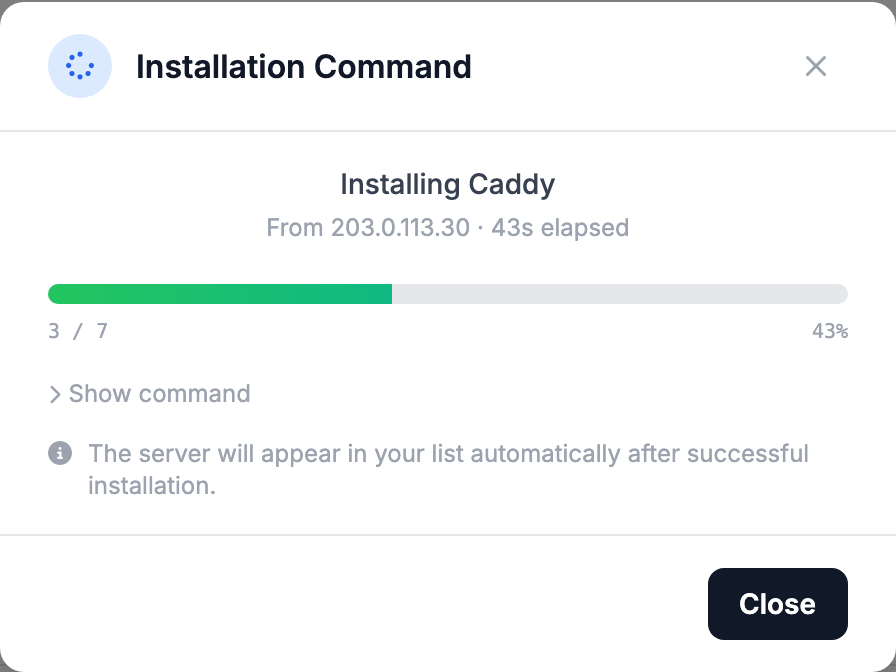
Check the result
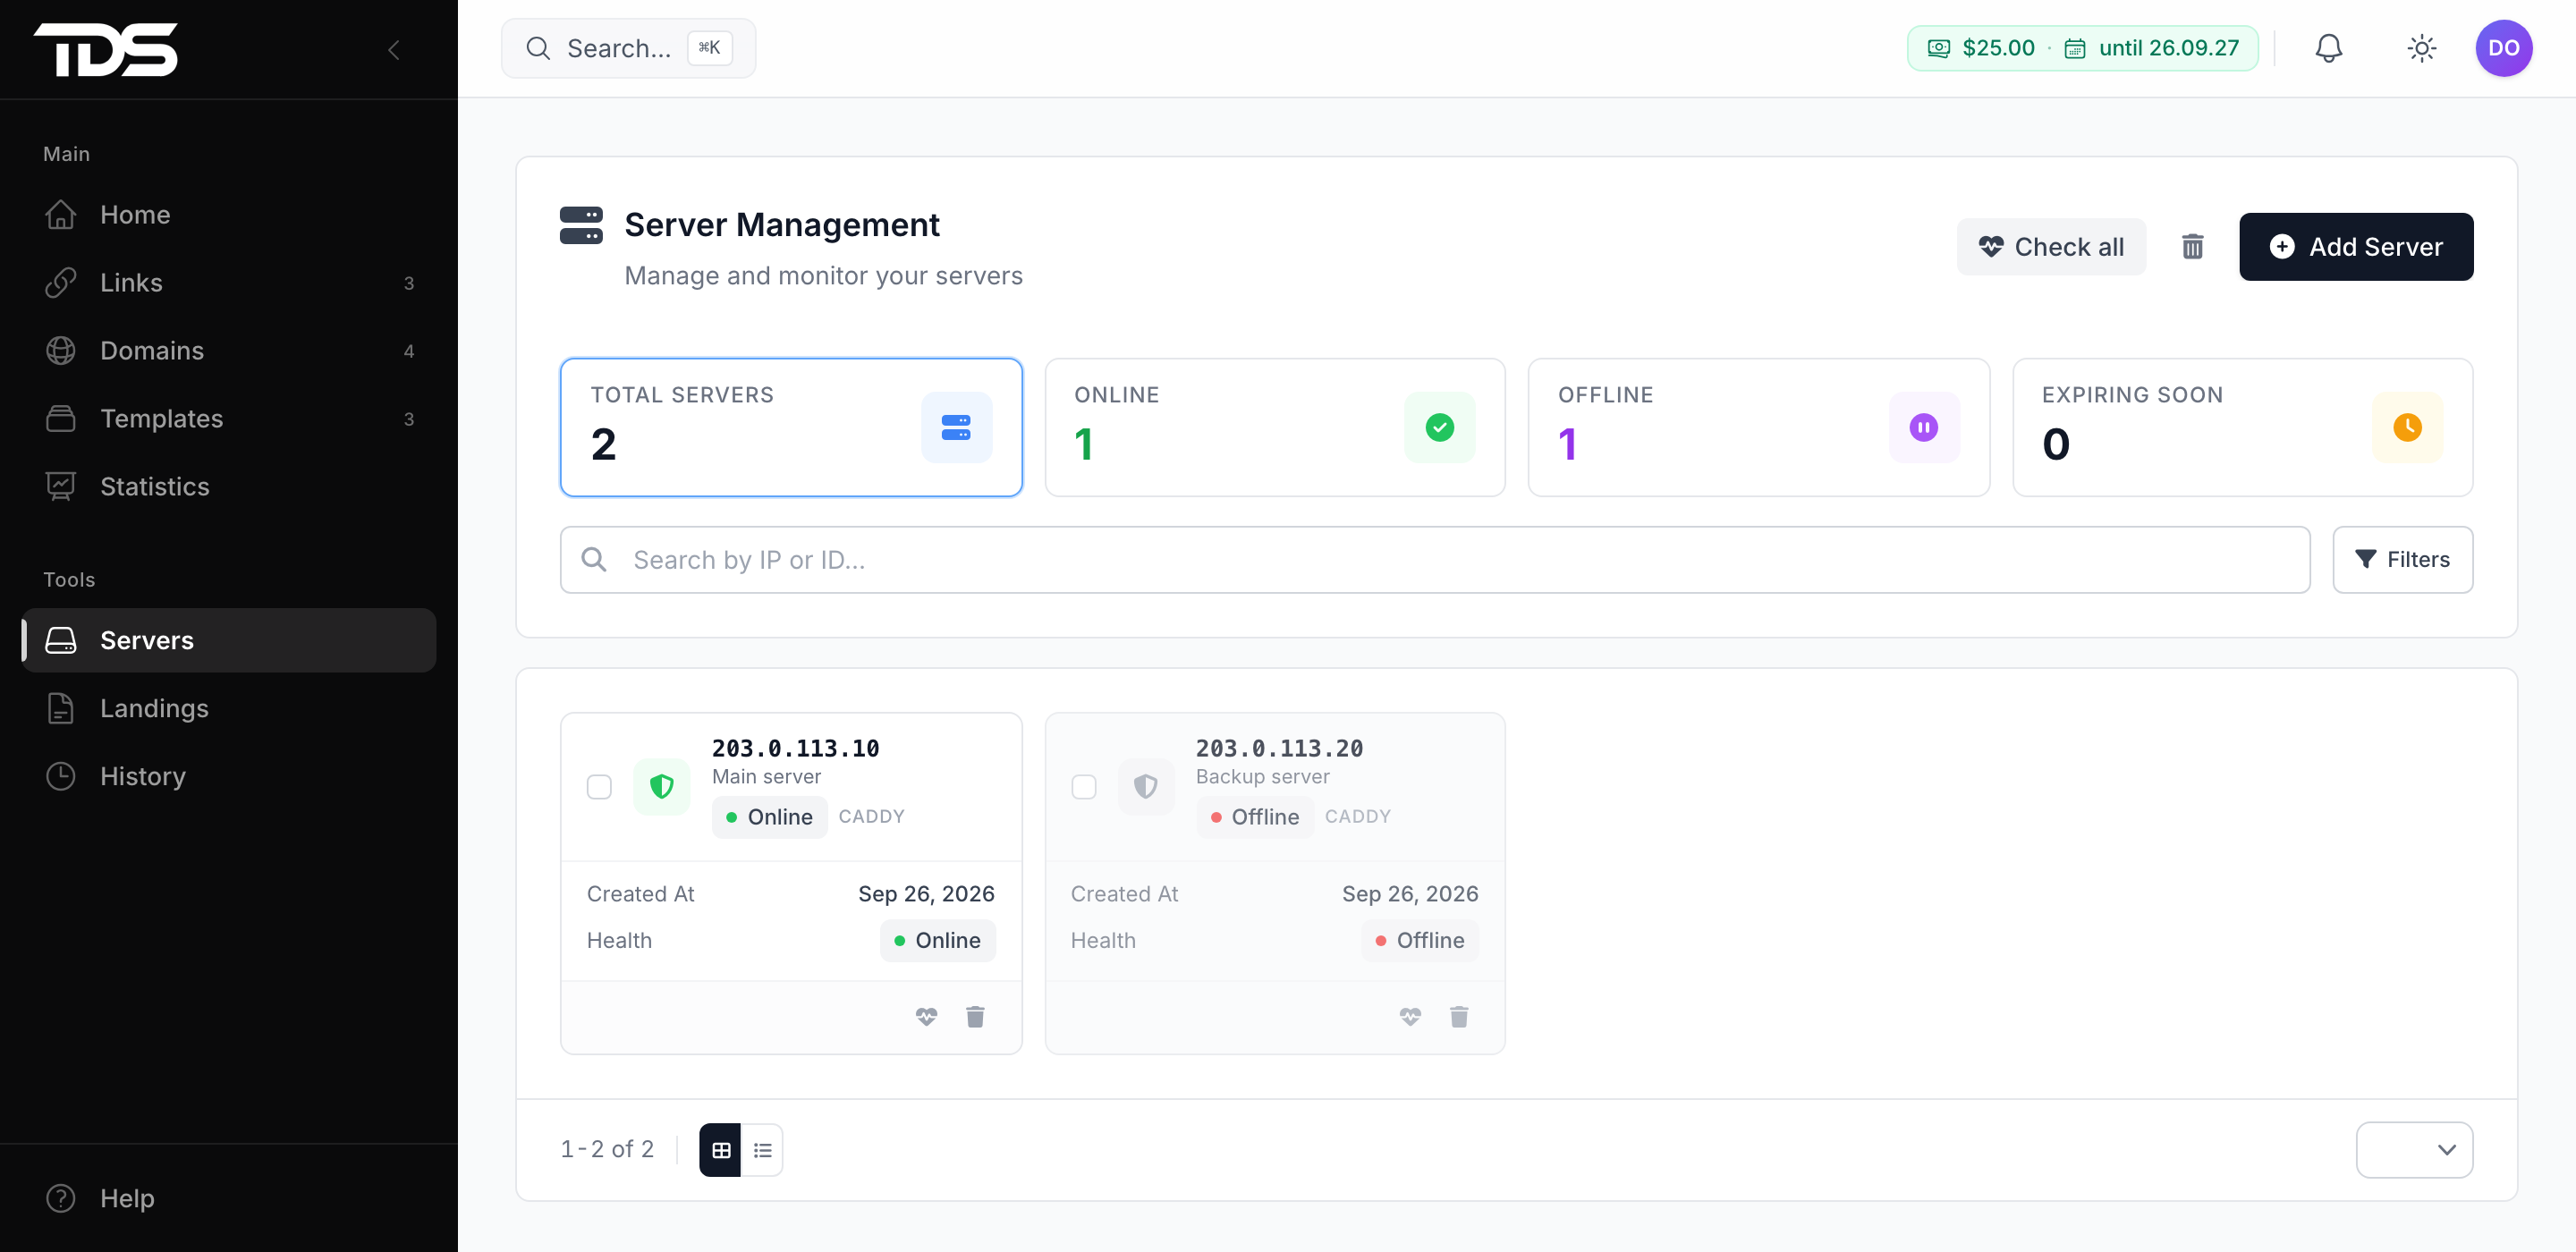
When the installation finishes, the window closes and the server appears in the list with the Online status.
If the installation failed or hung, run the same command again — it is safe. Common errors are covered in installation problems.
Copy the server's IP from its card — you will need it in the next step.